Connect to Bluetooth devices with StreamProvider and Flutter Reactive BLE
Apr, 05 2022
I’ve been struggling with a good way to get global access to Bluetooth devices when after connecting to them in a Flutter application. I think I’ve settled on a good solution using Stream Provider combined with Reactive BLE. Let’s take a look.
Getting Bluetooth set up in your Flutter application
I’ve written another post which goes through setting up the Reactive BLE library for each iOS and Android. I’ll be starting from there. We’ll be borrowing a lot of code from the Reactive BLE example project, so let’s set that up now.
Start a new Flutter project and install our dependencies.
flutter pub add provider
flutter pub add flutter_reactive_ble
flutter pub add intl
Change your platform specific settings as described here. For iOS (for Android, see linked post) that means bumping the platform up in the ios/Podfile
platform :ios, '12.0'
We also need to add some values to the ios/Runner/Info.plist file
<key>NSBluetoothAlwaysUsageDescription</key>
<string>The app uses bluetooth to find, connect and transfer data between different devices</string>
<key>NSBluetoothPeripheralUsageDescription</key>
<string>The app uses bluetooth to find, connect and transfer data between different devices</string>
Next, we’re going to shamelessly copy some code from the example project into our project’s main.dart.
Replace the contents with the following:
import 'package:flutter/material.dart'; import 'package:flutter_reactive_ble/flutter_reactive_ble.dart'; import 'package:flutter_reactive_ble_example/src/ble/ble_device_connector.dart'; import 'package:flutter_reactive_ble_example/src/ble/ble_device_interactor.dart'; import 'package:flutter_reactive_ble_example/src/ble/ble_scanner.dart'; import 'package:flutter_reactive_ble_example/src/ble/ble_status_monitor.dart'; import 'package:flutter_reactive_ble_example/src/ui/ble_status_screen.dart'; import 'package:flutter_reactive_ble_example/src/ui/device_list.dart'; import 'package:provider/provider.dart'; import 'src/ble/ble_logger.dart'; const _themeColor = Colors.lightGreen; void main() { WidgetsFlutterBinding.ensureInitialized(); final _bleLogger = BleLogger(); final _ble = FlutterReactiveBle(); final _scanner = BleScanner(ble: _ble, logMessage: _bleLogger.addToLog); final _monitor = BleStatusMonitor(_ble); final _connector = BleDeviceConnector( ble: _ble, logMessage: _bleLogger.addToLog, ); final _serviceDiscoverer = BleDeviceInteractor( bleDiscoverServices: _ble.discoverServices, readCharacteristic: _ble.readCharacteristic, writeWithResponse: _ble.writeCharacteristicWithResponse, writeWithOutResponse: _ble.writeCharacteristicWithoutResponse, subscribeToCharacteristic: _ble.subscribeToCharacteristic, logMessage: _bleLogger.addToLog, ); runApp( MultiProvider( providers: [ Provider.value(value: _scanner), Provider.value(value: _monitor), Provider.value(value: _connector), Provider.value(value: _serviceDiscoverer), Provider.value(value: _bleLogger), StreamProvider<BleScannerState?>( create: (_) => _scanner.state, initialData: const BleScannerState( discoveredDevices: [], scanIsInProgress: false, ), ), StreamProvider<BleStatus?>( create: (_) => _monitor.state, initialData: BleStatus.unknown, ), StreamProvider<ConnectionStateUpdate>( create: (_) => _connector.state, initialData: const ConnectionStateUpdate( deviceId: 'Unknown device', connectionState: DeviceConnectionState.disconnected, failure: null, ), ), ], child: MaterialApp( title: 'Flutter Reactive BLE example', color: _themeColor, theme: ThemeData(primarySwatch: _themeColor), home: const HomeScreen(), ), ), ); } class HomeScreen extends StatelessWidget { const HomeScreen({ Key? key, }) : super(key: key); Widget build(BuildContext context) => Consumer<BleStatus?>( builder: (_, status, __) { if (status == BleStatus.ready) { return const DeviceListScreen(); } else { return BleStatusScreen(status: status ?? BleStatus.unknown); } }, ); }
This will throw a bunch of errors, but that is OK. We need to pull in a few additional files from the example. Remember to change your import paths!
From the example project, copy the entire src/ble folder into your project, following the same path.
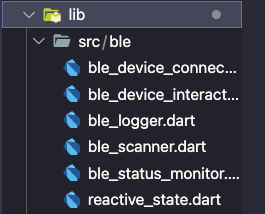
These files will throw a bunch of errors until you change the import paths. Since I named my example project stream_provider_ble, our imports will change from:
import 'package:ble_device_connector/src/ble/...'
To:
import 'package:stream_provider_ble/src/ble/...'
Go through and fix these up.
We’ll still have two errors in the main.dart file for these imports:
import 'package:stream_provider_ble/src/ui/ble_status_screen.dart';
import 'package:stream_provider_ble/src/ui/device_list.dart';
Let’s fix those now.
We’ll just pull in one more file from the example project. Grab the ble_status_screen.dart file and place it in src/ui of your project.
Now, create a new file called device_list.dart in the src/ui folder. Here is where we’ll start interacting with our BLE devices.
Flutter Provider with Bluetooth
In your device_list.dart add the following:
import 'package:flutter/material.dart'; import 'package:flutter_reactive_ble/flutter_reactive_ble.dart'; import 'package:provider/provider.dart'; import 'package:stream_provider_ble/src/ble/ble_scanner.dart'; import 'package:stream_provider_ble/src/ble/ble_device_connector.dart'; class DeviceListScreen extends StatelessWidget { const DeviceListScreen({Key? key}) : super(key: key); Widget build(BuildContext context) => Consumer3<BleScanner, BleScannerState?, BleDeviceConnector>( builder: (_, bleScanner, bleScannerState, bleDeviceConnector, __) => _DeviceList( scannerState: bleScannerState ?? const BleScannerState( discoveredDevices: [], scanIsInProgress: false, ), startScan: bleScanner.startScan, stopScan: bleScanner.stopScan, deviceConnector: bleDeviceConnector, ), ); } } class _DeviceList extends StatefulWidget { const _DeviceList( {required this.scannerState, required this.startScan, required this.stopScan}); final BleScannerState scannerState; final void Function(List<Uuid>) startScan; final VoidCallback stopScan; __DeviceListState createState() => __DeviceListState(); } class __DeviceListState extends State<_DeviceList> { Widget build(BuildContext context) { return Container(); } }
we can see that the DeviceListScreen returns a Consumer3widget that depends on two objects: BleScanner , BleScannerState, and BleDeviceConnector.
This allows us to interact with the Bluetooth library anywhere in the widget tree.
Here is a good description of Flutter Provider that might help clarify this.
Scanning for BLE Devices
Now that we can access BleScanner in our widget tree, let’s set up some buttons to start scanning for Bluetooth devices. Update your _DeviceList widget to add some buttons to start and stop scanning.
class __DeviceListState extends State<_DeviceList> { Widget build(BuildContext context) { return Scaffold( body: Padding( padding: const EdgeInsets.all(25.0), // This is where the list of discovered devices will go child: Column( mainAxisAlignment: MainAxisAlignment.end, children: [ Row( mainAxisAlignment: MainAxisAlignment.spaceEvenly, children: [ ElevatedButton( child: const Text('Scan'), onPressed: !widget.scannerState.scanIsInProgress ? () => widget.startScan([]) : null), ElevatedButton( child: const Text('Stop'), onPressed: widget.scannerState.scanIsInProgress ? widget.stopScan : null, ), ], ), const SizedBox( height: 25, ), ], ), ), ); } }
You should now have an empty screen that just toggles between scanning and not scanning. Progress!
Now let’s add some way to view the BLE devices that are nearby.
Add the following just above the Row widget in your Column:
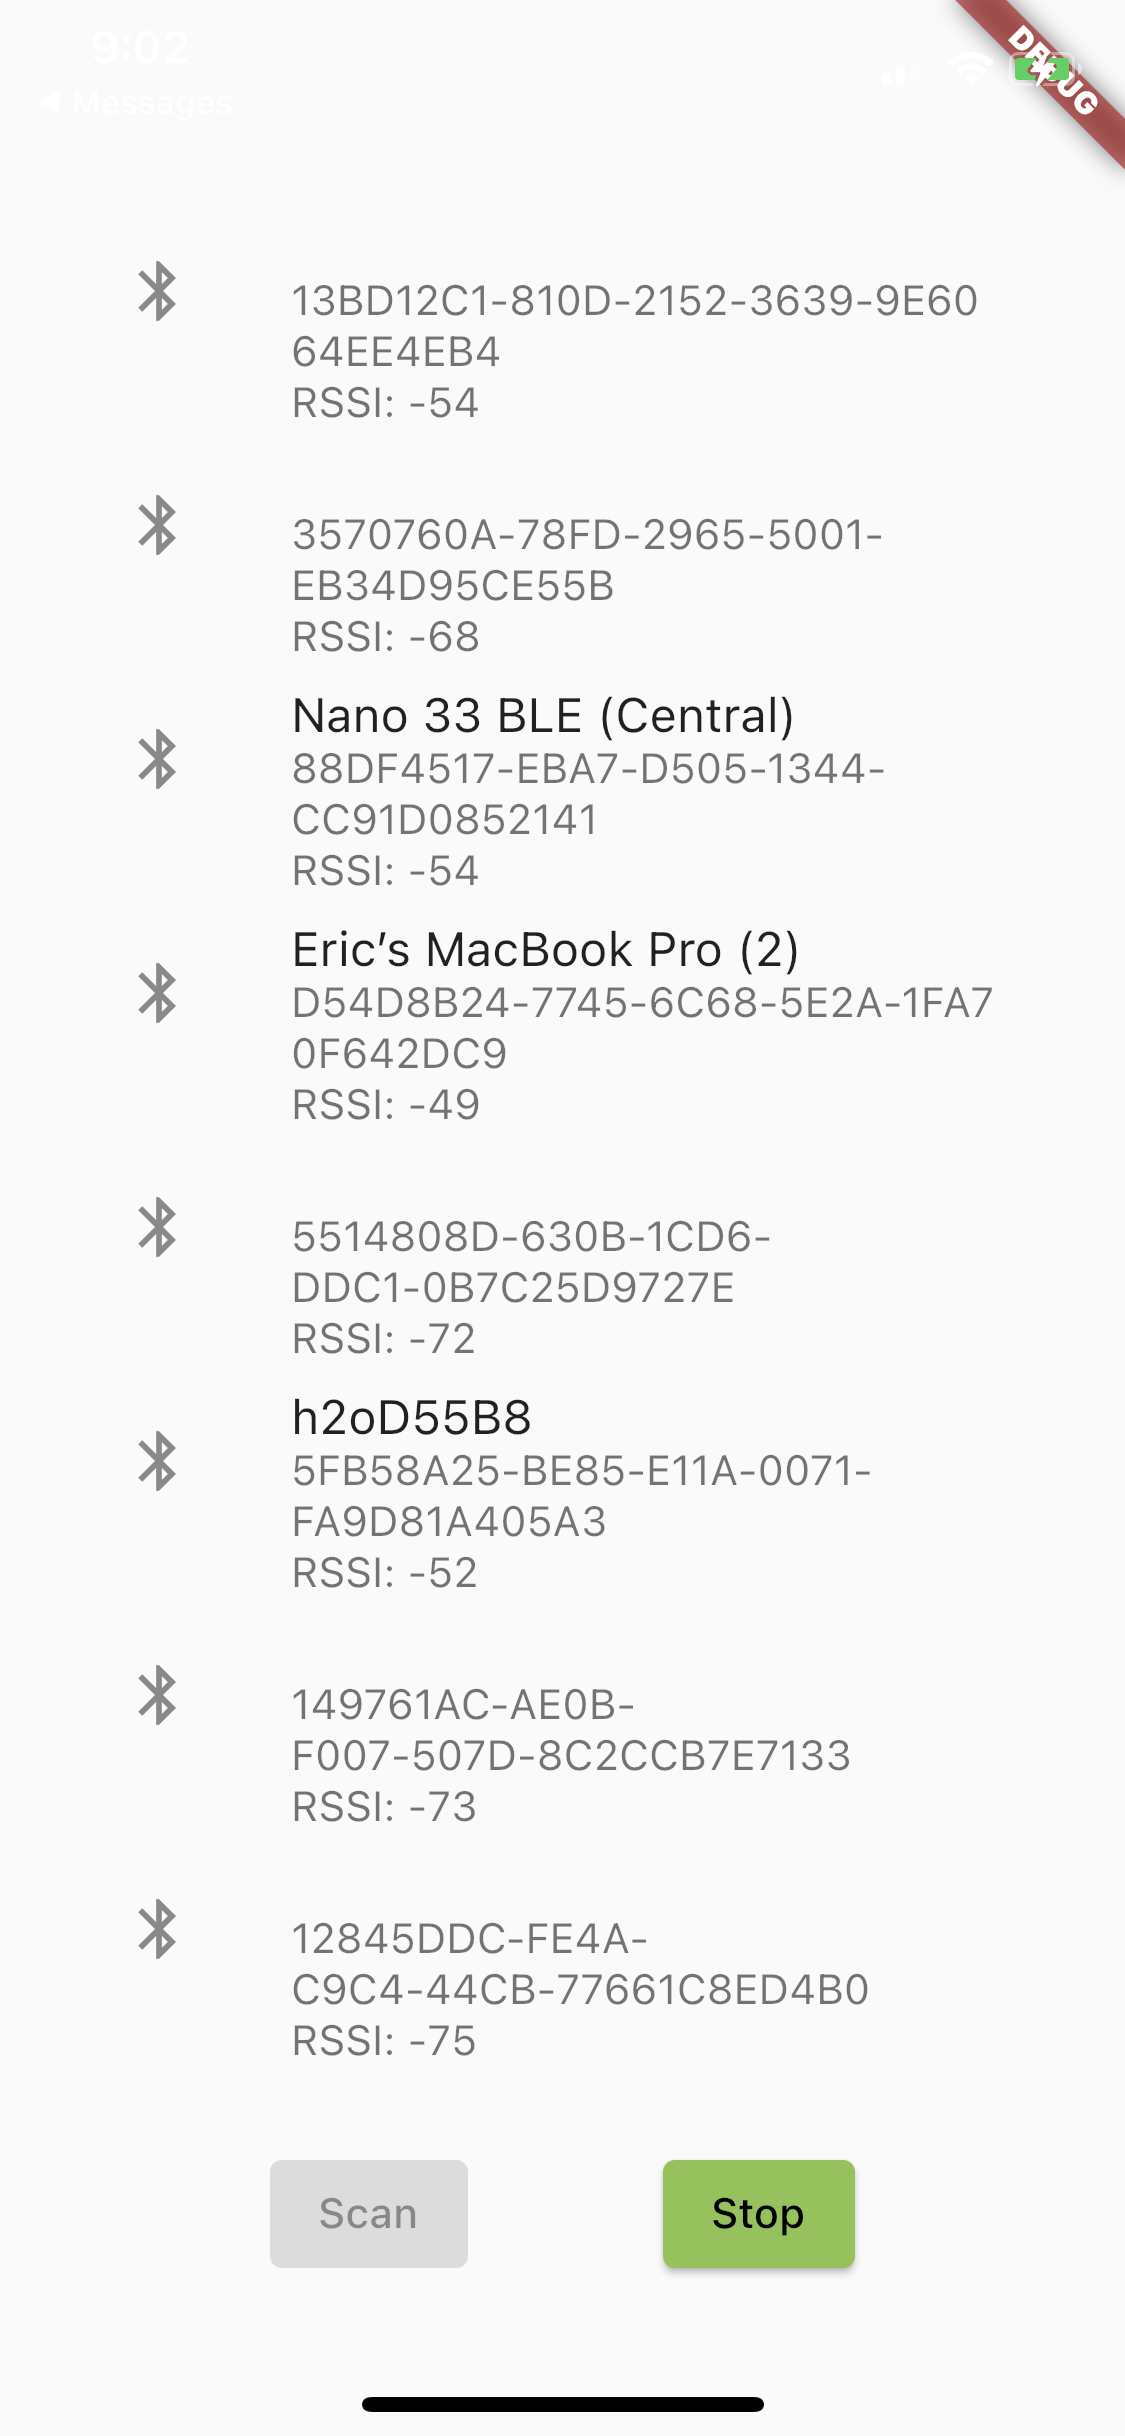
Flexible(
  child: ListView(
    children: widget.scannerState.discoveredDevices
        .map(
          (device) => ListTile(
              title: Text(device.name),
              subtitle: Text("${device.id}\nRSSI: ${device.rssi}"),
              leading: const Icon(Icons.bluetooth),
              onTap: () async {
                widget.stopScan();
								widget.deviceConnector.connect(device.id);
              }),
        )
        .toList(),
  ),
),
const SizedBox(height: 8),
When you click the scan button you should now see a list of nearby BLE devices appear!
I’ll continue on with this series to describe how to interact with this Bluetooth device now that we’re connected.