Getting started with Zephyr on nRF52.
Jul, 26 2021
Let's break out from vendor IDEs (lookin' at you Segger) and learn how to set up a Zephyr environment for an nRF52 SoC using the VSCode IDE.
We'll start with the Toolchain manager provided by Nordic. First, it has us downloading the nRF Connect for Desktop application. Choose the correct release for your operating system and let the installer wizard do its thing.
When nRF Connect is first opened, you'll notice that none of the bundled apps are installed. Scroll down to the Toolchain Manager listing and click install. Your nRF Connect window should now look something like this ⤵️ (ignore my Programmer installation, it's not necessary right now).
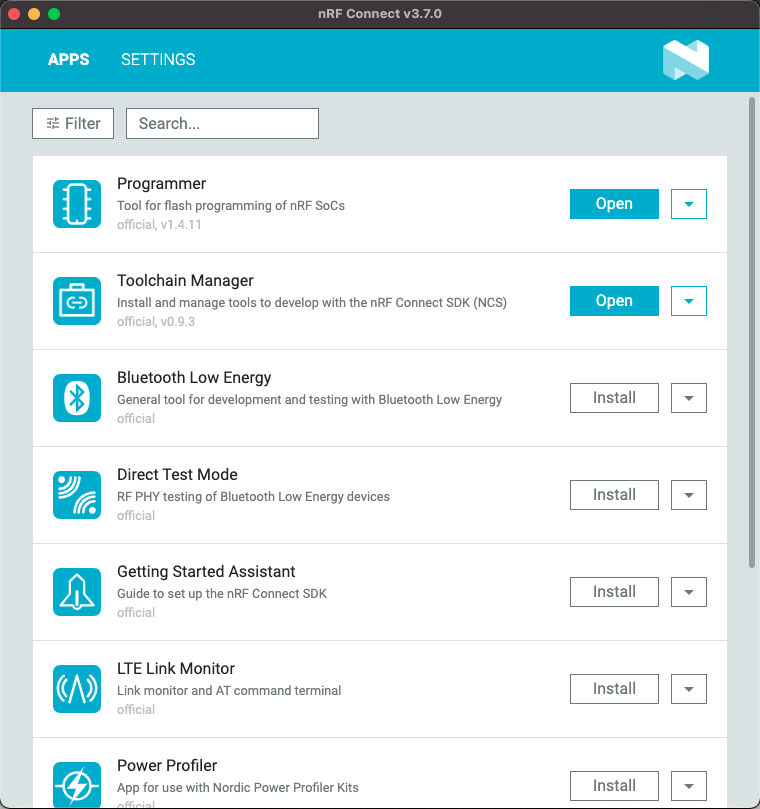
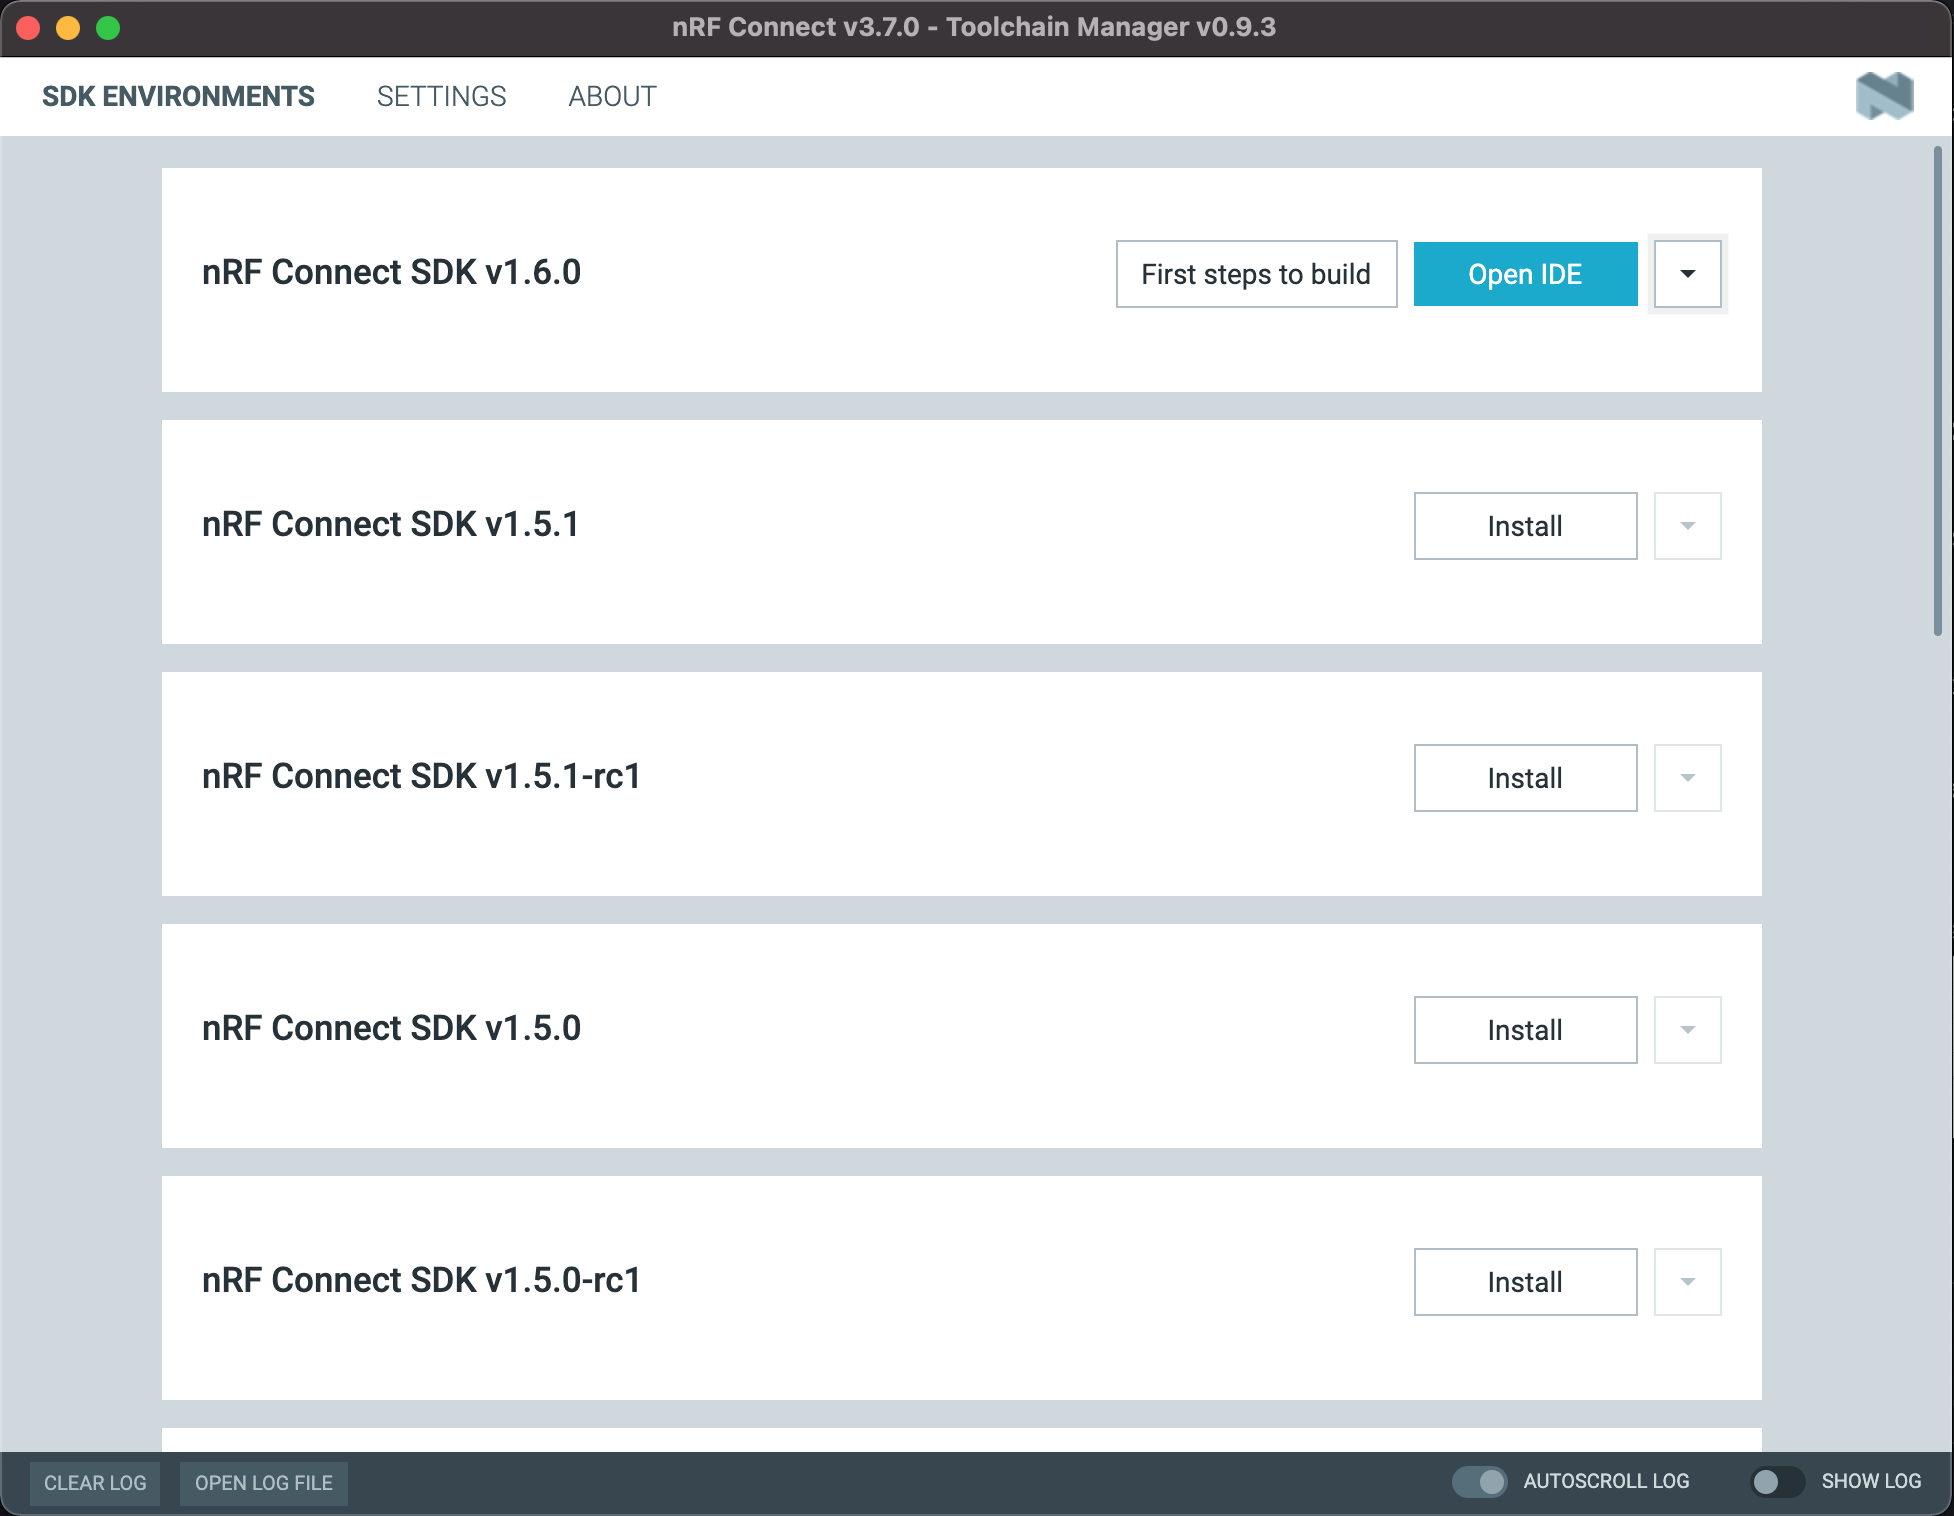
Next, go ahead and open the toolchain manager app. You should be greeted with a list of nRF Connect SDK versions to install. Choose the latest listing and give it an install. This might take a few minutes, there's a lot to pull in.
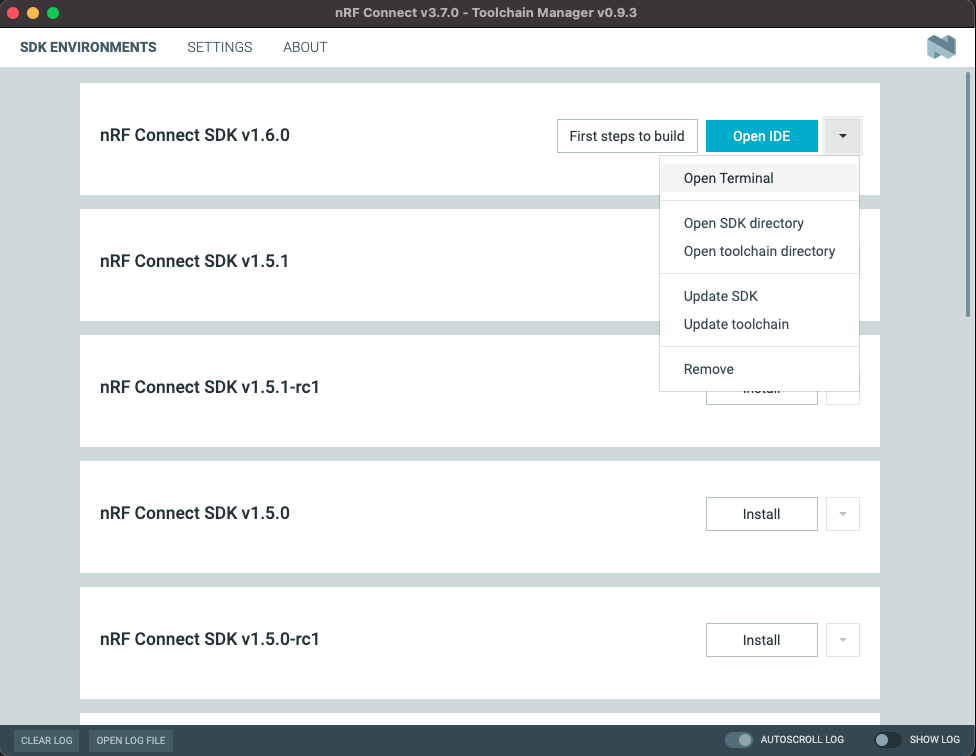
Use the Toolchain Manager to open a terminal in your latest SDK installation ⤵️.
With the terminal window open, change directory into the Zephyr/Samples/Basic/Blinky folder and run west build -p auto -b nrf52dk_nrf52832 (see below). The -p auto flag sets the pristine build option to automatic. You can read more about that here.
cd zephyr/samples/basic/blinky

west build -p auto -b nrf52dk_nrf52832
If we did everything right you should see the build successfully complete! Leave this terminal window open, this is how you'll be compiling your projects from now on.
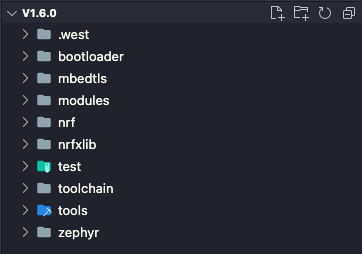
We'll be using VSCode to edit our projects, so download and install it if you haven't already. Return to your Toolchain Manager and choose the "Open SDK Directory" option in the drop down next to your latest SDK installation.

Open this file location in VSCode. Your folder structure should look something like this ⤵️
Create a new folder in the root directory, naming it whatever you like. Then, using the built in project explorer, navigate to Zephyr/Samples/Basic/Blinky and copy Blinky into your new directory.
❗️ IMPORTANT ❗️ If you've already built the Blinky sample as instructed, delete the build folder. It will automatically be regenerated and can cause some headache if moved from a different location. Actually, if you ever get stuck working in Zephyr your first line of defense should be to delete the build folder. It has fixed many of my past problems.
Now you should have a new folder in your root directory with a copy of the Blinky folder in it. For example, mine is eric_applications/Blinky

Using your open terminal window (or command prompt) navigate into your newly created directory. For me this would be:
cd eric_applications/blinky
Again, run a build command:
west build -p auto -b nrf52dk_nrf52832
Plug in your nRF52 dev kit, and run:
west flash
We should see our board flashing!