What is a bootloader?
Oct, 11 2023
You may have come across the concept of a bootloader as you progress into more advanced projects. It can be a confusing concept - I know it took me a little while to wrap my head around. Let's try to clear it up a bit in the context of Zephyr. We'll be using an off the shelf Xiao nRF52 board for this example.
What is a bootloader?
In the simplest sense, a bootloader is a small routine that checks for any pending software updates. It is the first thing that runs when an application starts up. There are many different types of bootloaders and they typically differ by the mechanism used for updating the software during runtime. This could be over USB, Bluetooth, WiFi, etc.
You might be familiar with the Arduino bootloader, or Adafruit's UF2 bootloader. Or if you've ever bought a smart home device, I'm sure you've had to update the firmware over Bluetooth. This would be an example of a Bluetooth bootloader.
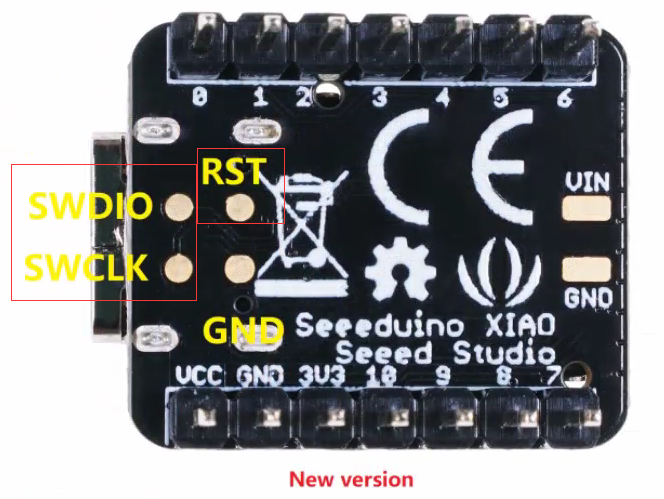
Our board (the Xiao nRF52) comes with the UF2 bootloader pre-installed.
Depending on the bootloader, you may need to signal that a software update is available. In the Arduino, this is done automatically over USB. In the case of the Xaio nRF52 board (with the UF2 bootloader) a double press of the reset button tells the bootloader "get ready for a software update."
How do I work with bootloaders?
If you bought a Xaio nRF52 off the shelf, you can assume it already has the UF2 bootloader flashed to it. Like detailed above, you simply double press the reset button to put it into "boot" mode. You can then upload .uf2 files to the device via USB. No programmer required.
If you were to have gotten a blank nRF52 device, you can flash the bootloader just like any other application using a JLINK programmer. The hex file was pre-built and uploaded to Github here.
Then, you can put your programmer away for good, because after flashing you can upload new software with the Xiao's USB port.
The "upload via USB" and ".uf2 file" points are unique to this bootloader. This would be different with a different bootloader. Typically, as an application developer, you would use off the shelf bootloaders (like the UF2 bootloader) unless you have a good reason not to.
Xaio nRF52 with Zephyr
Now that we know we have a Xiao board with a UF2 bootloader programmed to it. How can we program a Zephyr application to it? Lucky for us it is very simple.
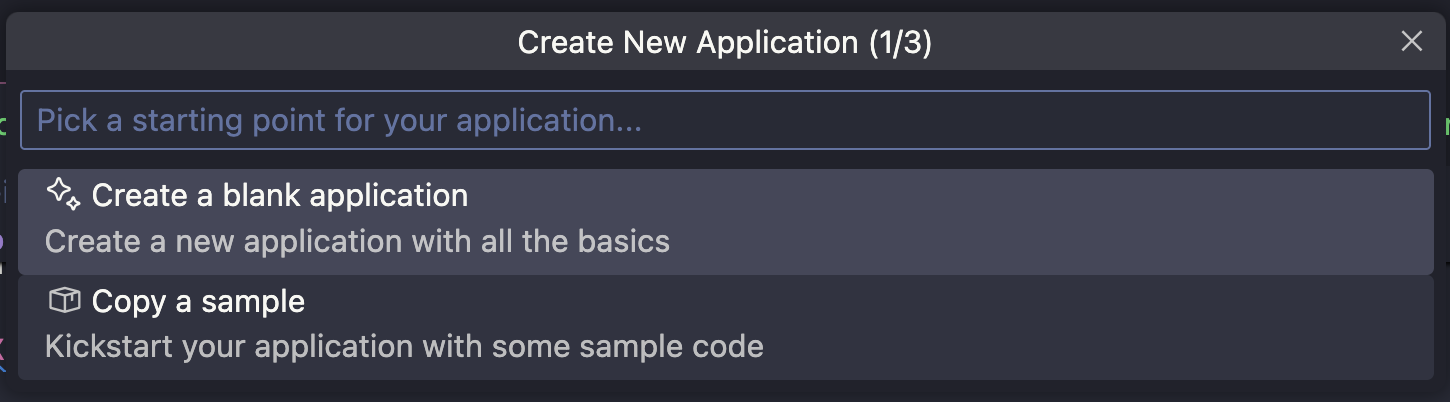
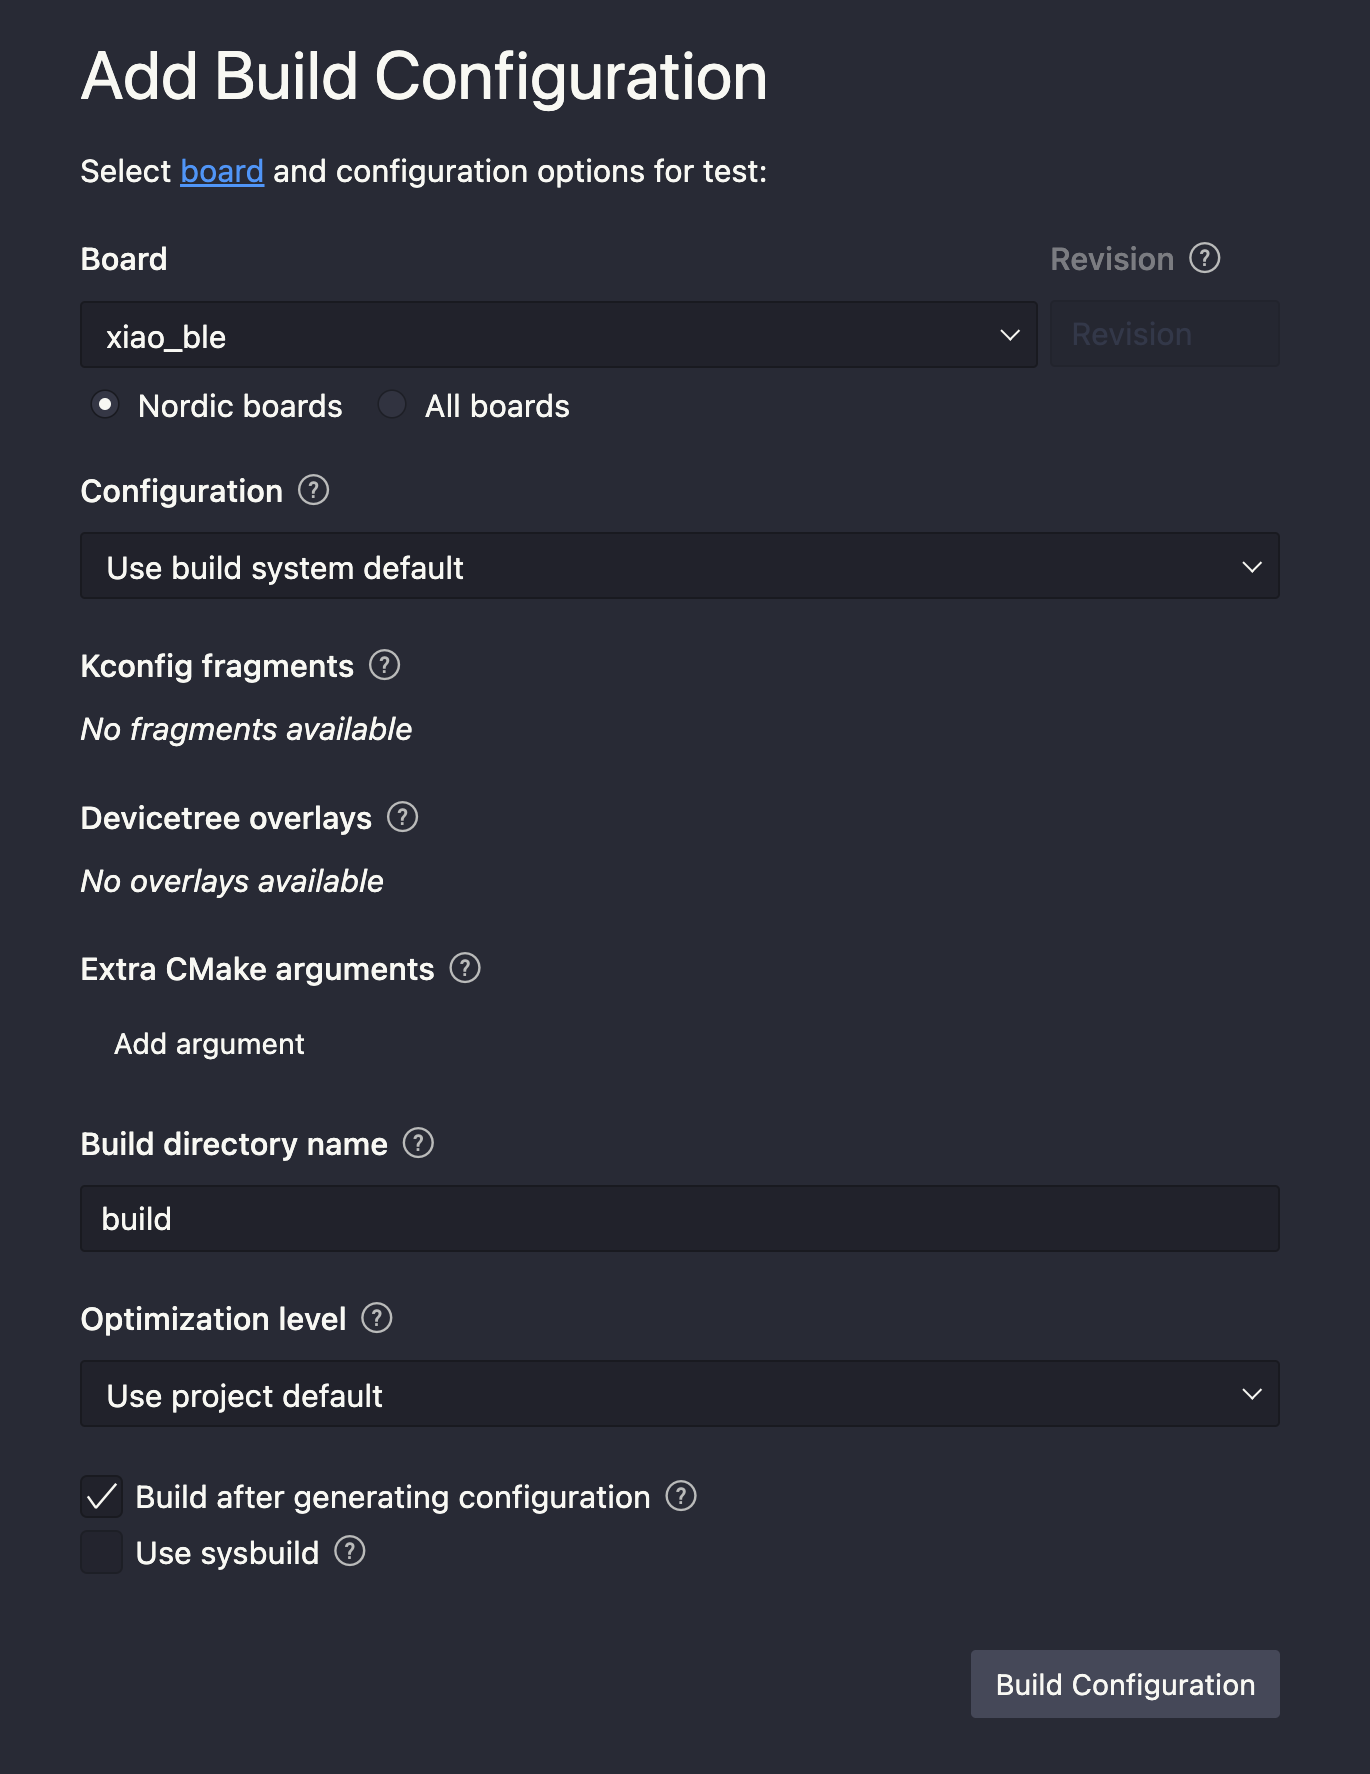
First, create a new project (based on the hello-world sample) and select the Xiao nRF52 board for a build target. Zephyr supports this board out of the box.

Next, in the prj.conf file tell Zephyr to also build a .uf2 file with this configuration setting:
CONFIG_BUILD_OUTPUT_UF2=y
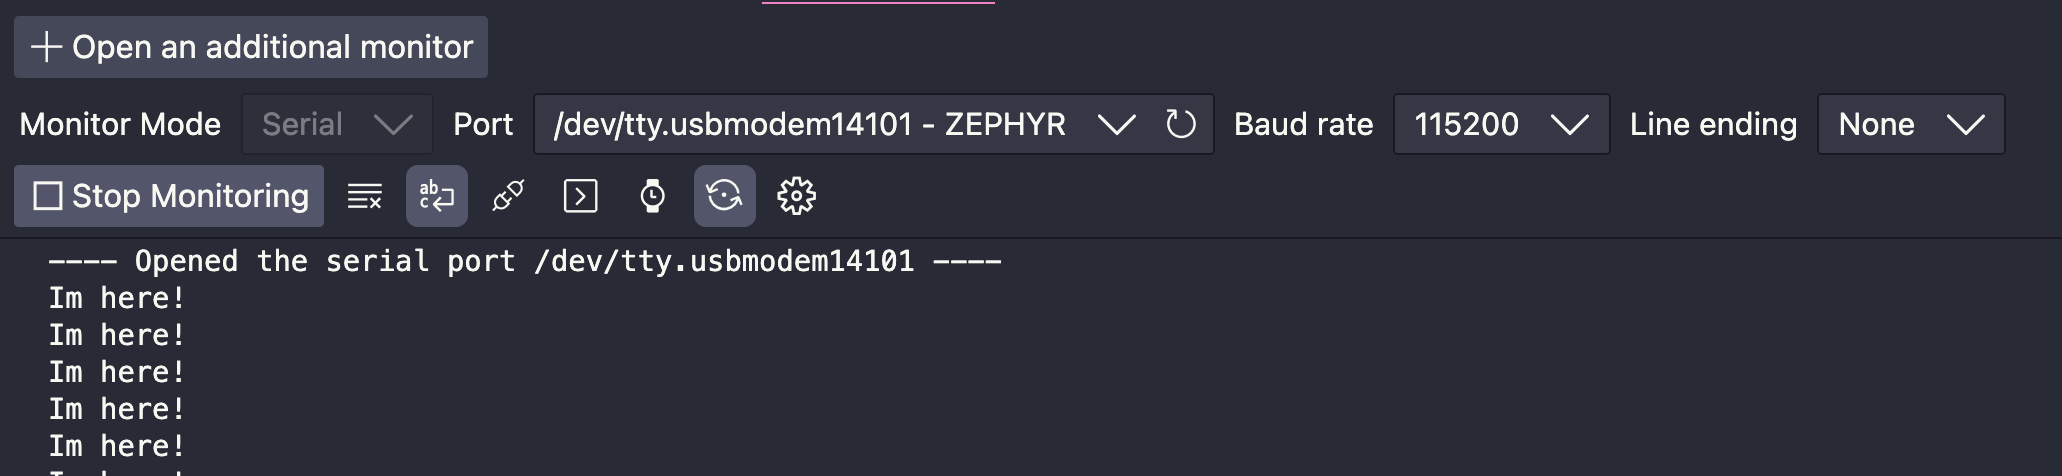
Update the while loop for continuous output:
int main(void)
{
	printk("Hello World! %s\n", CONFIG_BOARD);
	while (1){
		printk("Im here!\n");
		k_sleep(K_SECONDS(1));
	}
	return 0;
}
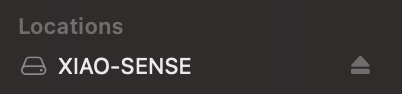
Build your sample application then plug your Xiao board into your computer. Double click the reset button to put the device into boot mode. You should be greeted with a removable disk.
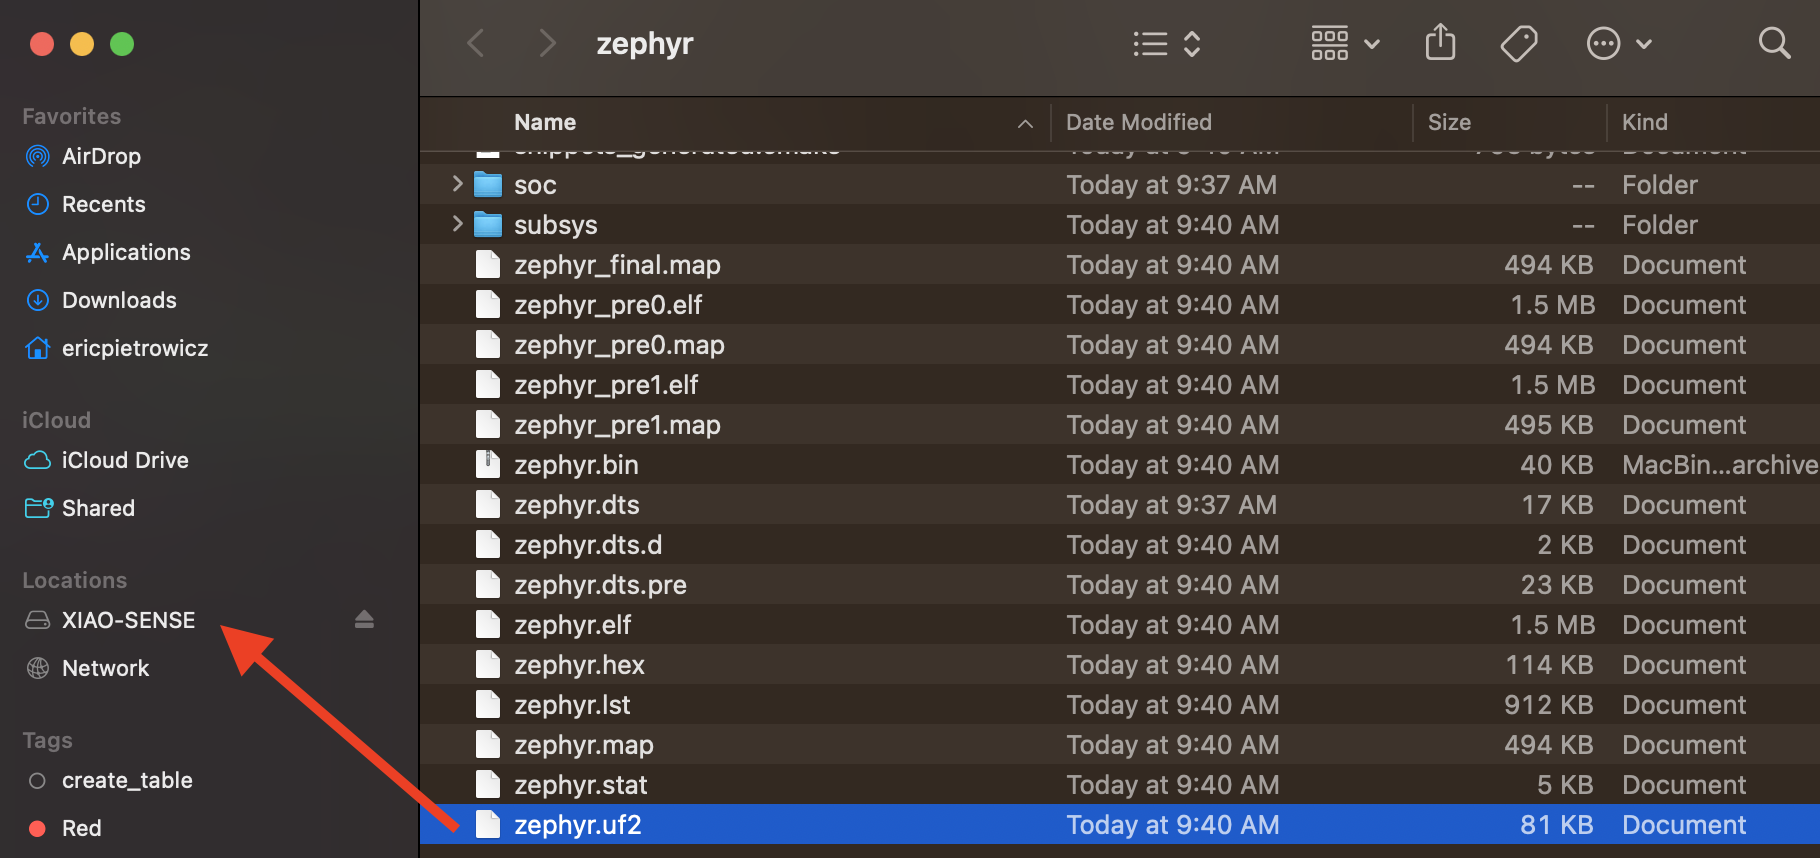
Finally, navigate to the following file in your build directory:
./build/zephyr/zephyr.uf2
Drag this file to your removable disk labeled: XIAO-SENSE. The file should copy over and automatically reset the device. You might get an OS error here. It can usually be ignored. Open a serial monitor to see your logs.
Throw that JLINK programmer away! Now all you need is your USB-C cable.