Setting up SSL Certificate for an ElasticBeanstalk Backend on AWS
Oct, 21 2022
If you are trying to connect to a backend hosted on ElasticBeanstalk with your frontend application, you will need to first configure an SSL certificate.
You may be receiving an error with the following message:
Mixed Content: The page at '<URL>' was loaded over HTTPS,
but requested an insecure XMLHttpRequest endpoint '<URL>'.

This request has been blocked; the content must be served over HTTPS.
I'm going to assume you've already deployed a backend server on ElasticBeanstalk and you are now ready to configure the SSL certificate for this instance.
First, you will need to add a load balancer to your instance. This will become relevant later on. Navigate to Elastic Beanstalk > Environments > Your Environment Name
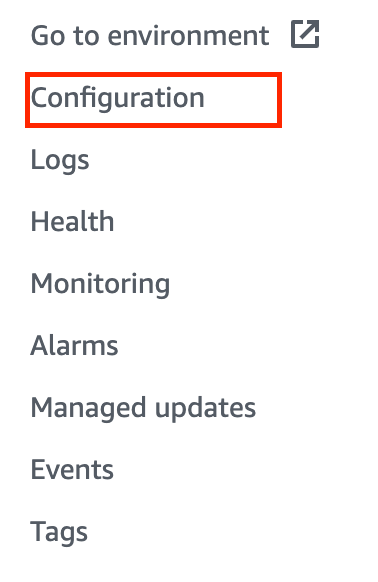
On the left navigation panel, choose Configuration:
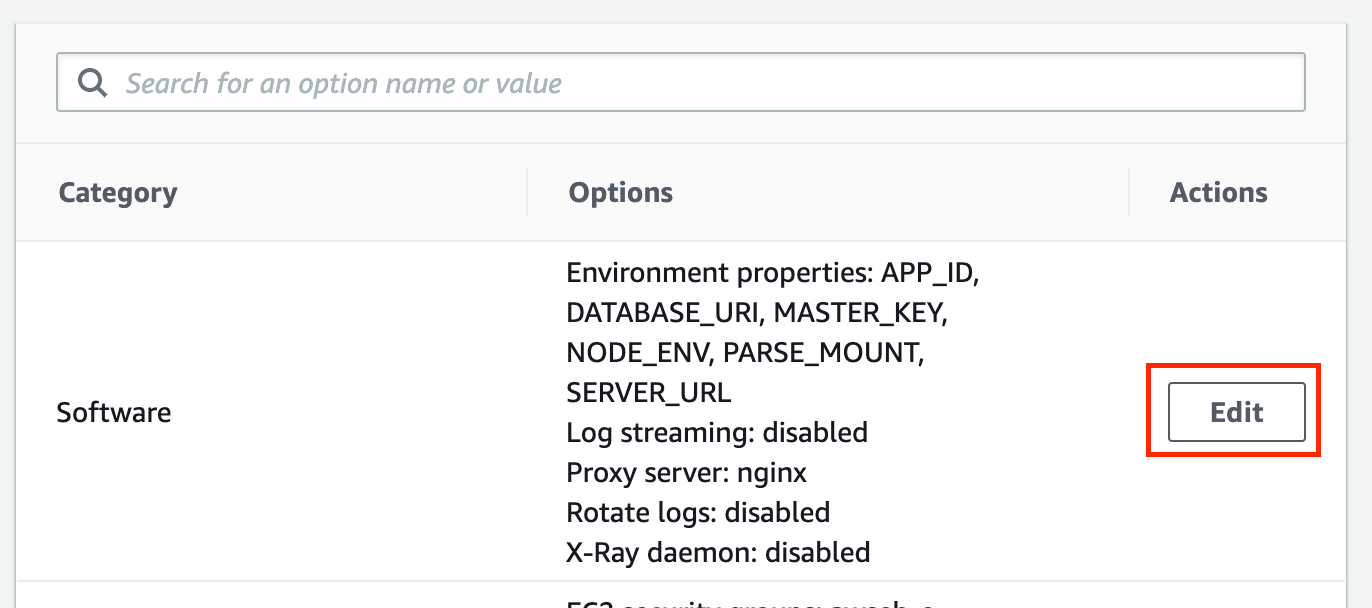
Edit your capacity configuration:
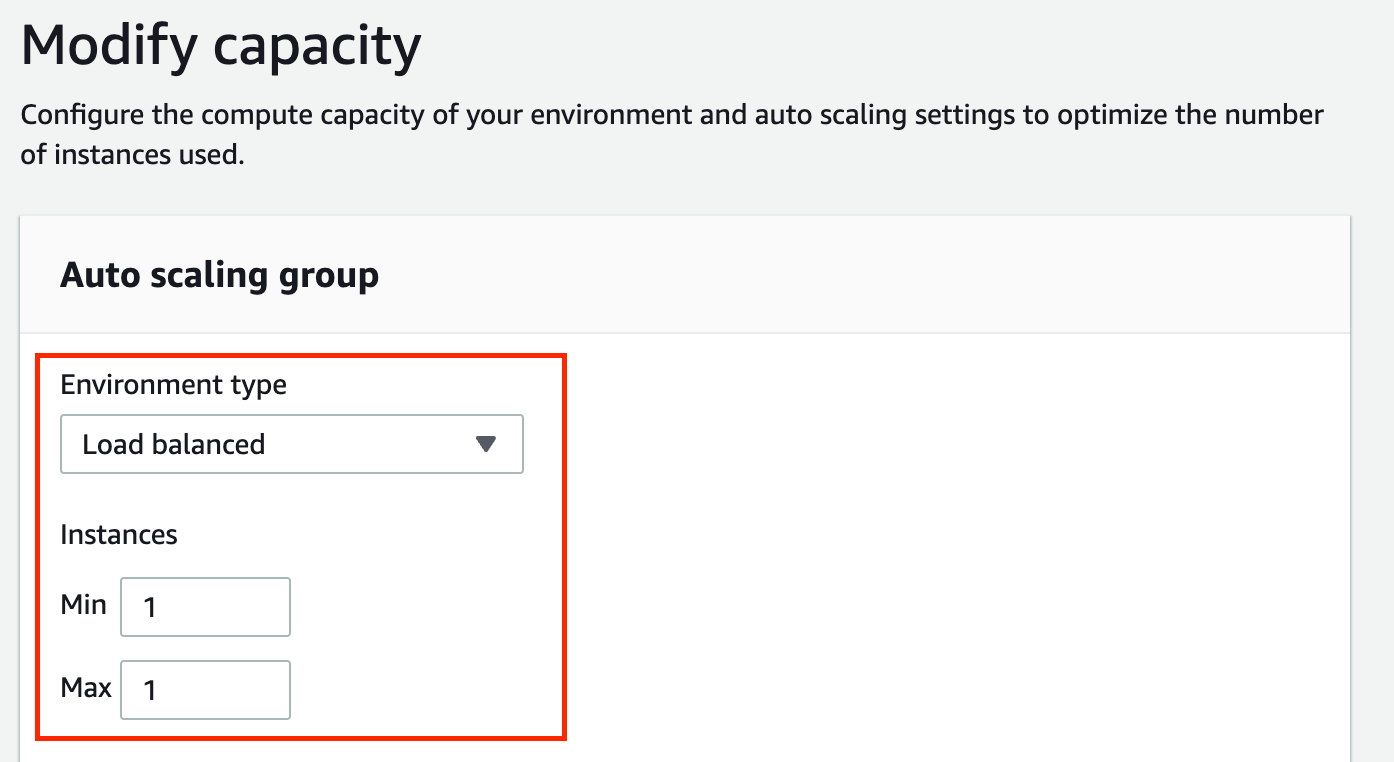
Adjust your auto scaling group settings to match (make sure to choose Apply at the very bottom of the page):
Next, we'll need to purchase a custom domain in Route 53. I am not aware of any way to add an SSL certificate to an ElasticBeanstalk without a custom domain.
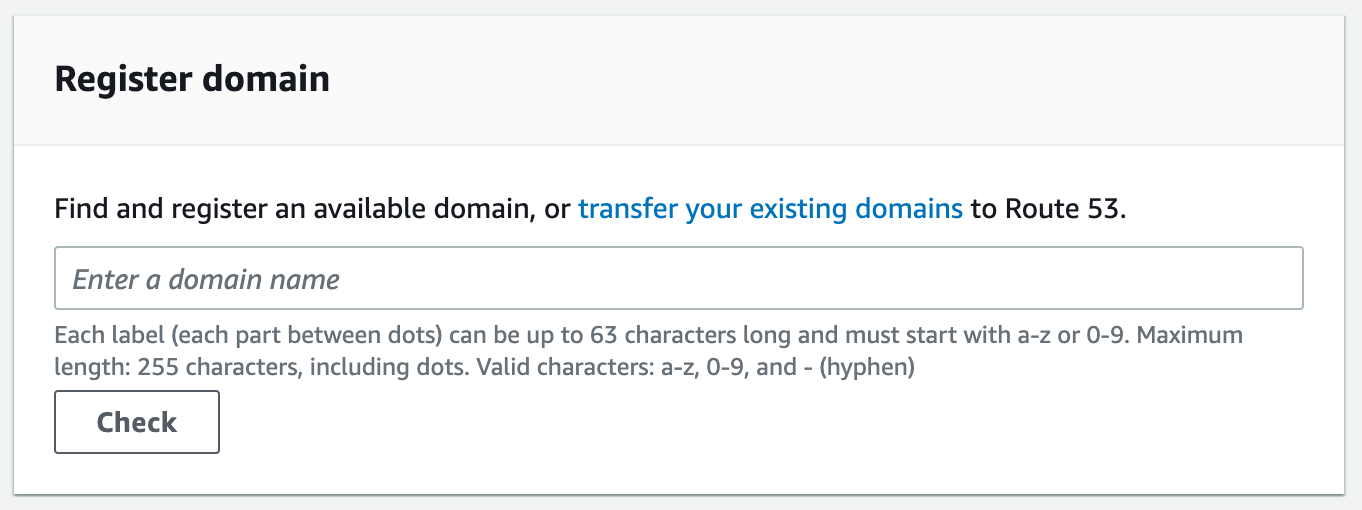
Open the Route 53 dashboard and navigate to the register domain section. Remember, this is not your frontend or user facing domain. It will just serve as the URL that your frontend will connect to for API calls.
Once you have registered your domain, you will have to wait a few minutes for a hosted zone to automatically generate after your purchase.
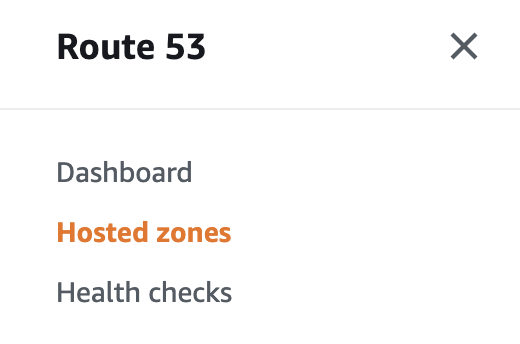
Navigate to the hosted zone section:
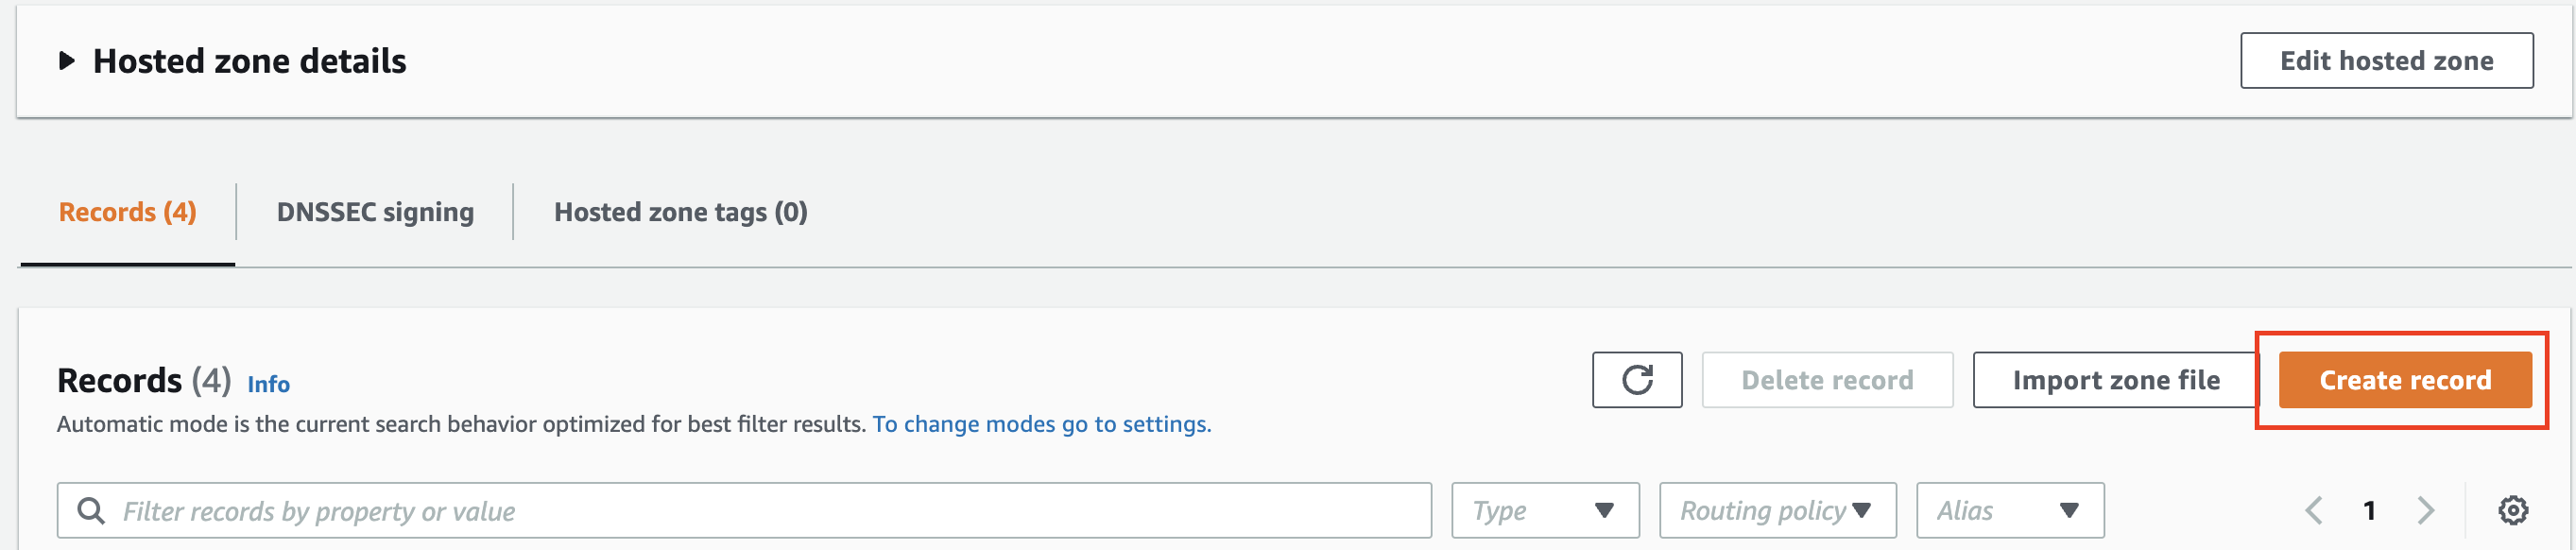
Choose the hosted zone for the domain you have just purchased. Then click Create Record:
Pick the Simple Routing routing policy as shown here:
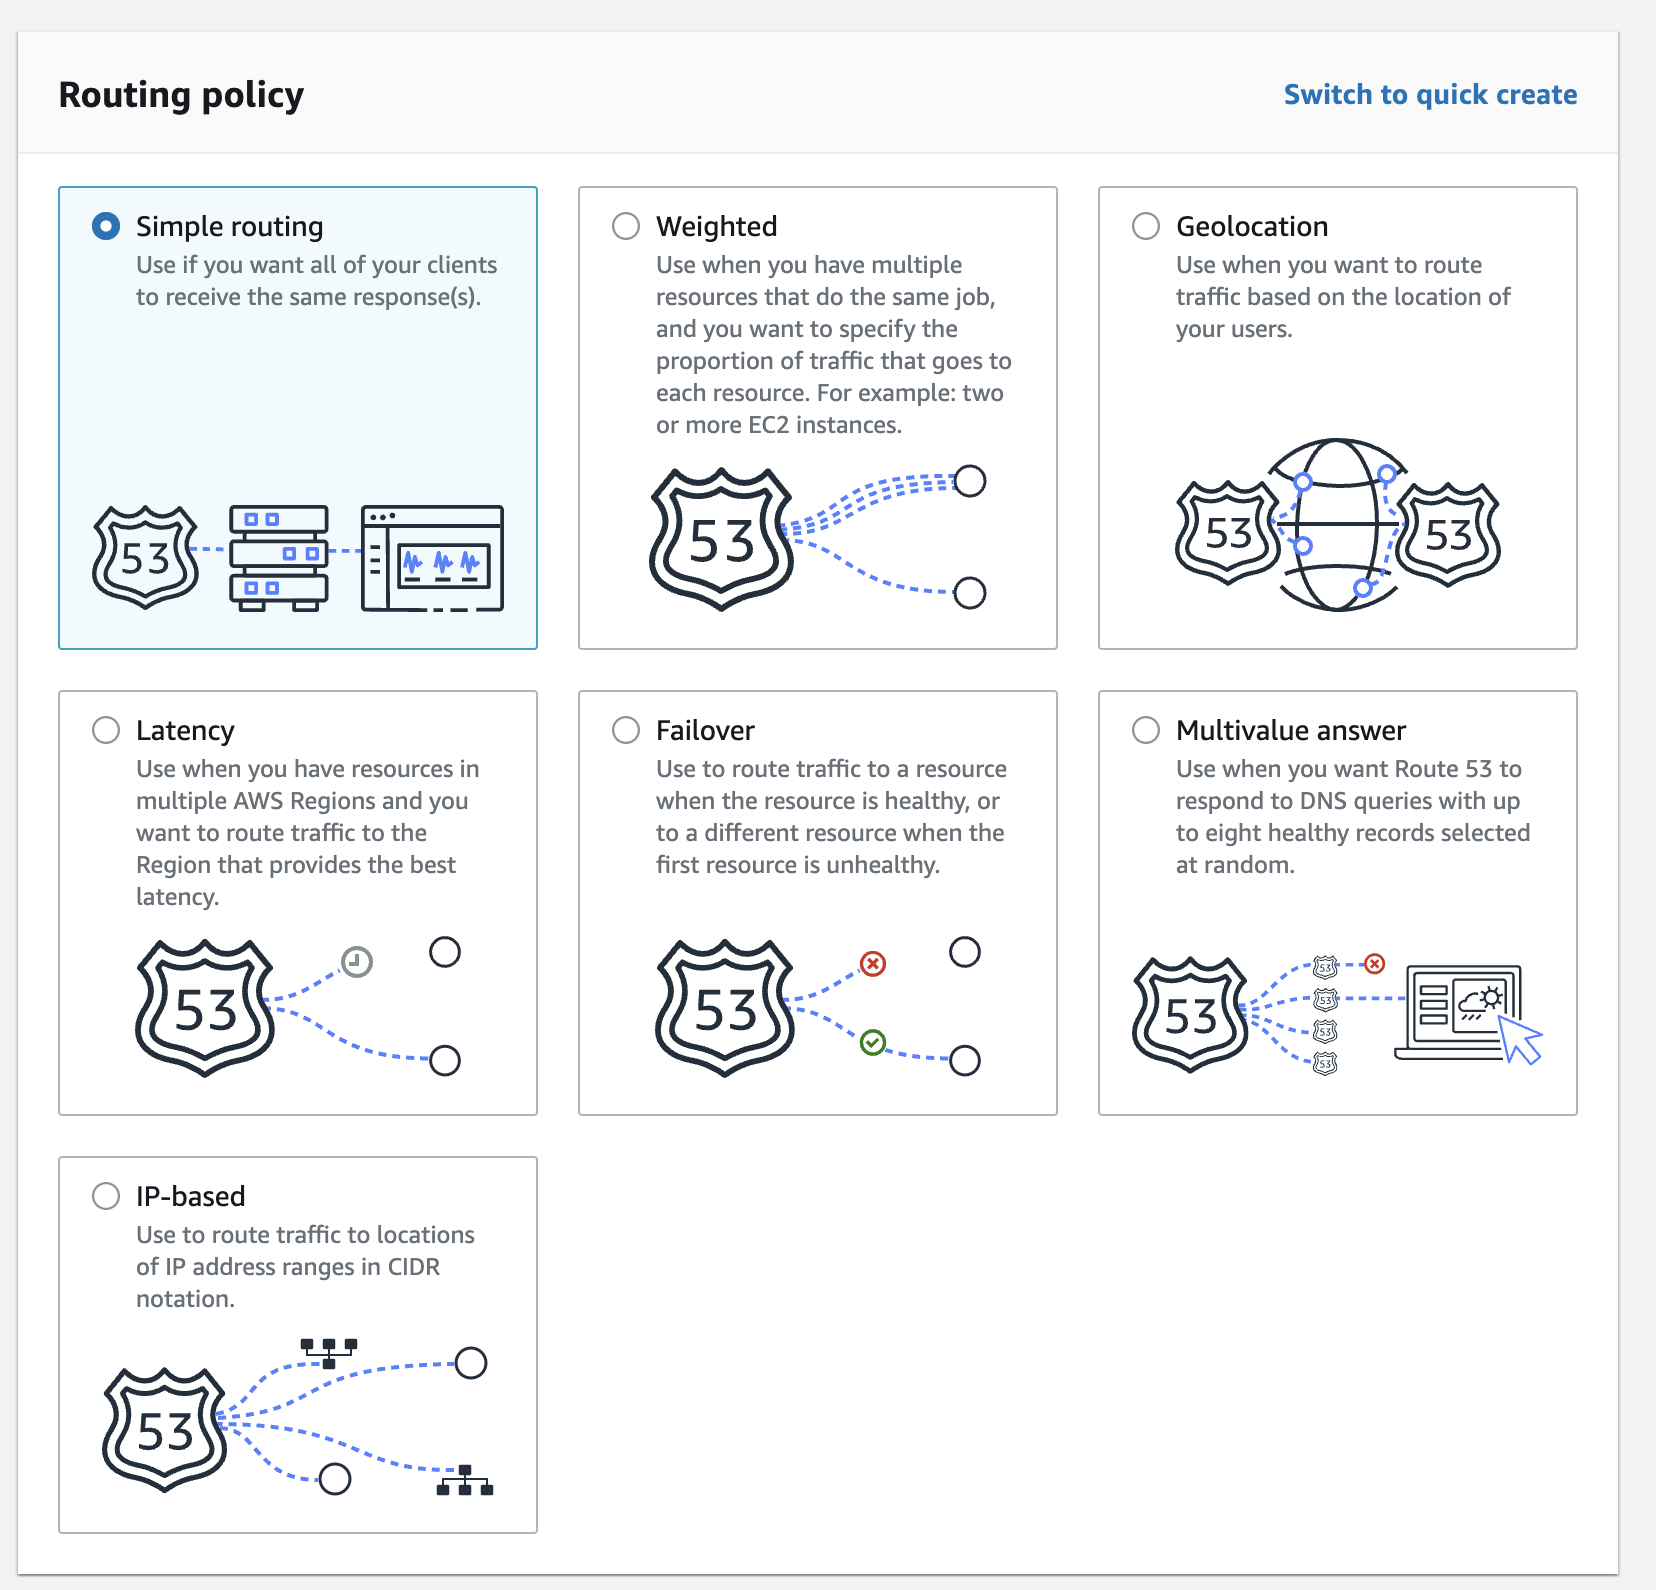
If you don't see the view shown above, you may have to switch to the wizard view:

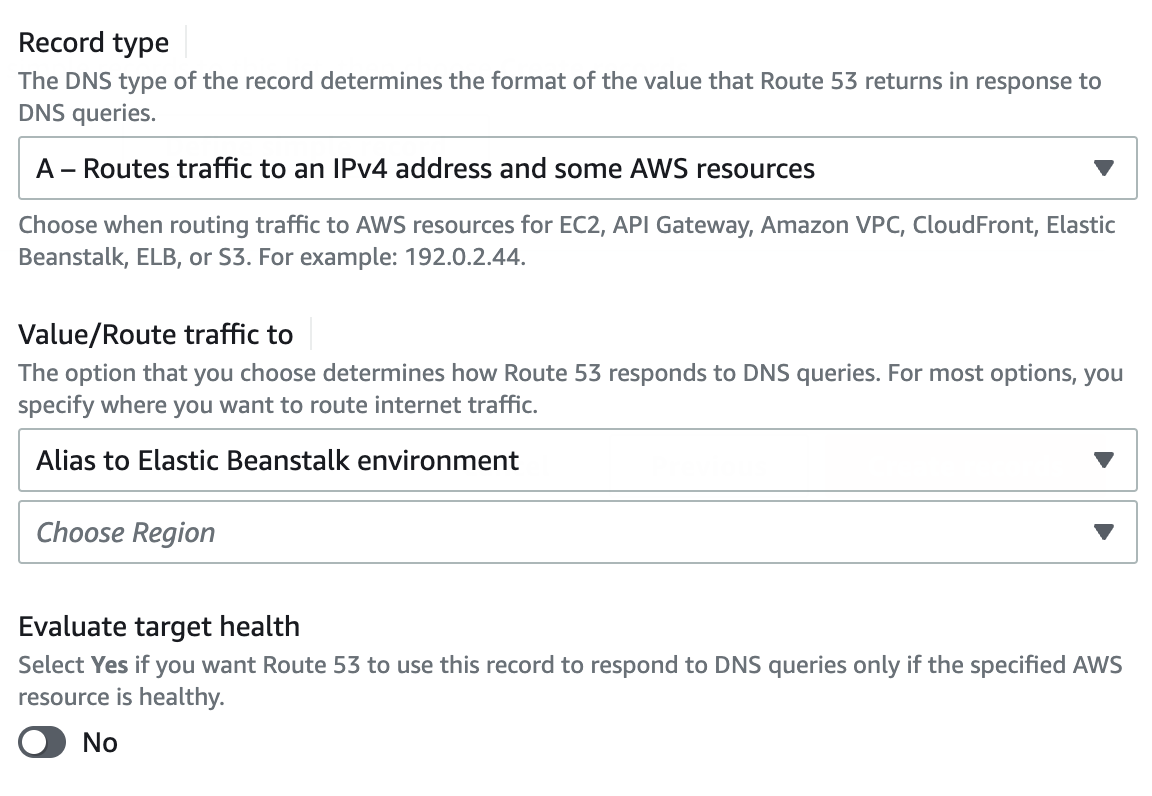
Click Define Simple Record. Keep the subdomain field empty to allow the backend to be reached from the root domain.
Adjust the rest of the settings to match. For the record type choose A - Routes to an IPv4 address and some AWS resources. Then you will be able to pick the AWS resource you want to route to, ElasticBeanstalk in this case. Choose your region and instance you want to route to.
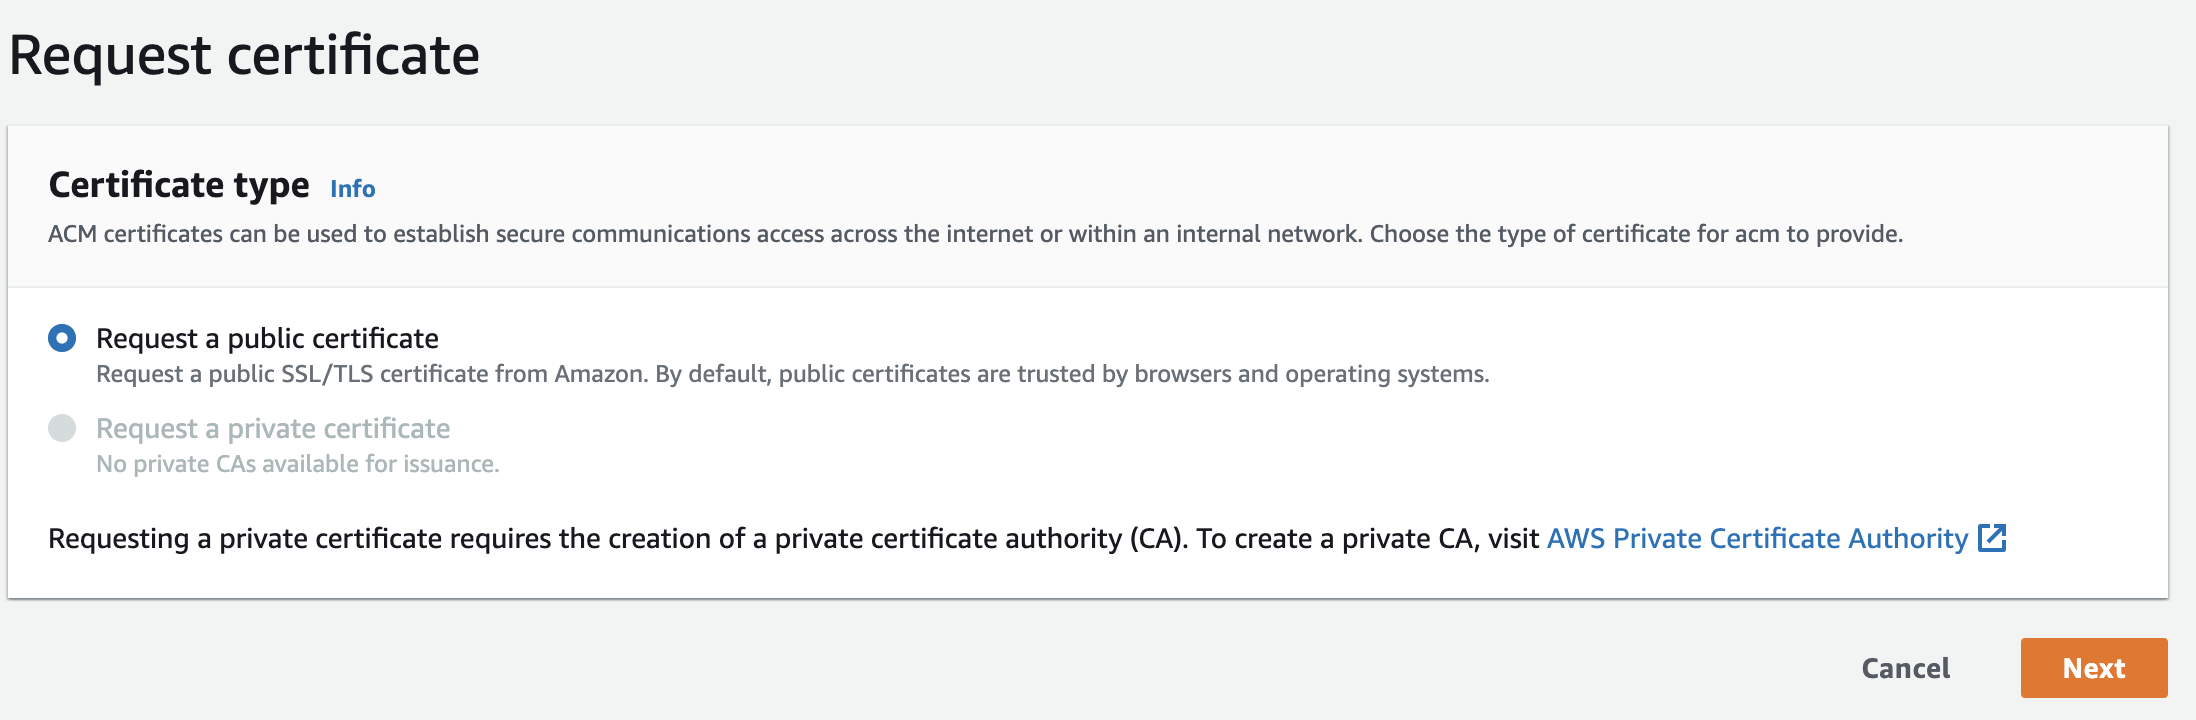
Next, we'll head over to AWS's Certificate Manager dashboard to provision our SSL certificate. Request a new public certificate.

Match the following configuration, replacing test.com with your recently purchased domain name.
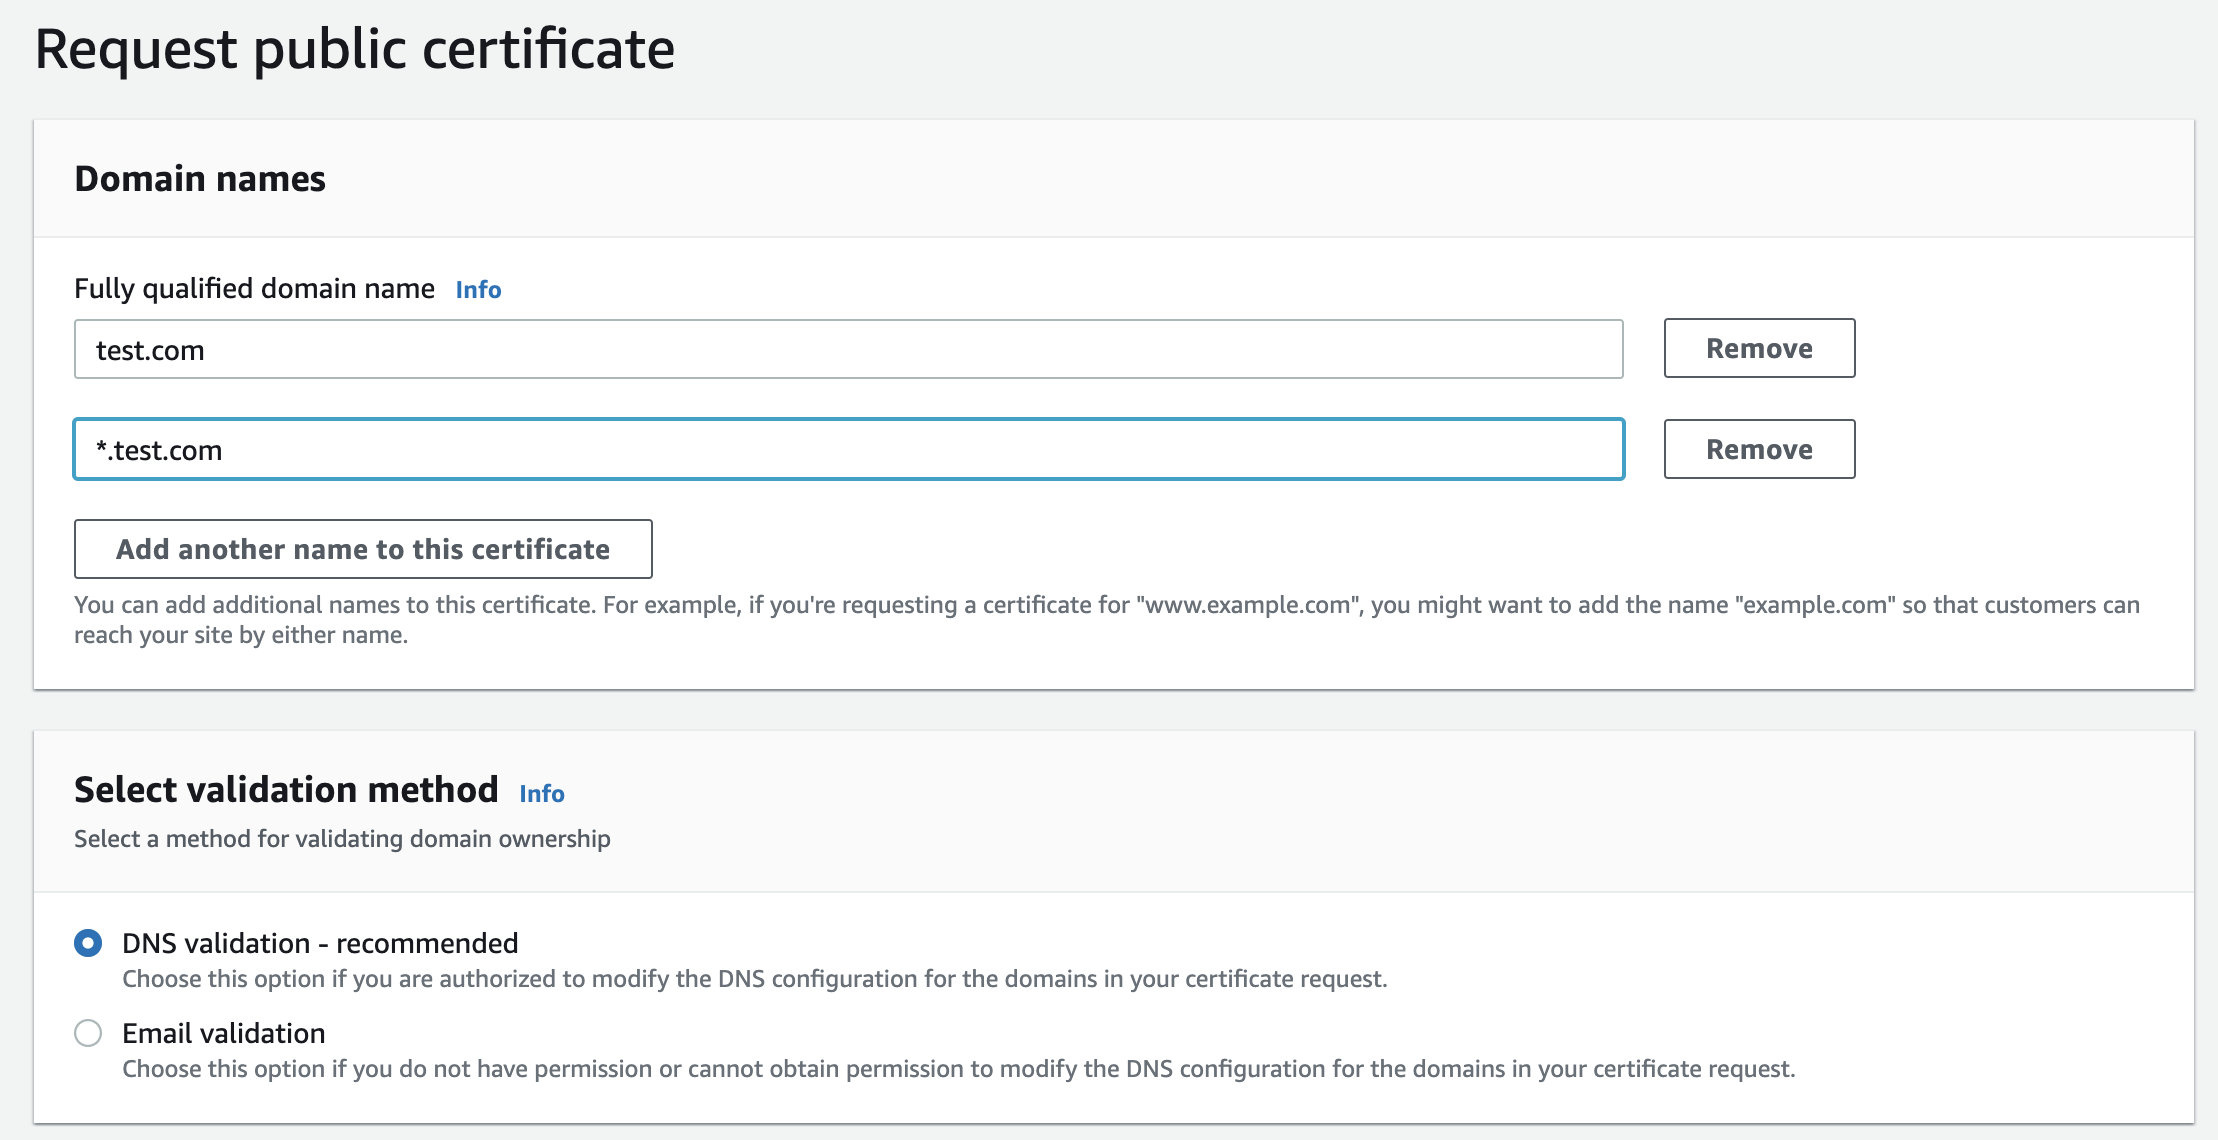
When asked how you plan on validating your ownership of the domain, choose DNS validation.
AWS should boot you back to a list view of your certificates, click into the certificate you just created. Under the Domains section the status should be pending. Choose Create Records in Route 53 to automatically add the CNAME record to your domain's hosted zone.
If you navigate back to your domain's hosted zone in Route 53, you should see a new CNAME record and its value a UUID ending in .acm-validation.aws
Your SSL certificate in the Certificate Manager should transfer from pending to success after a few minutes.
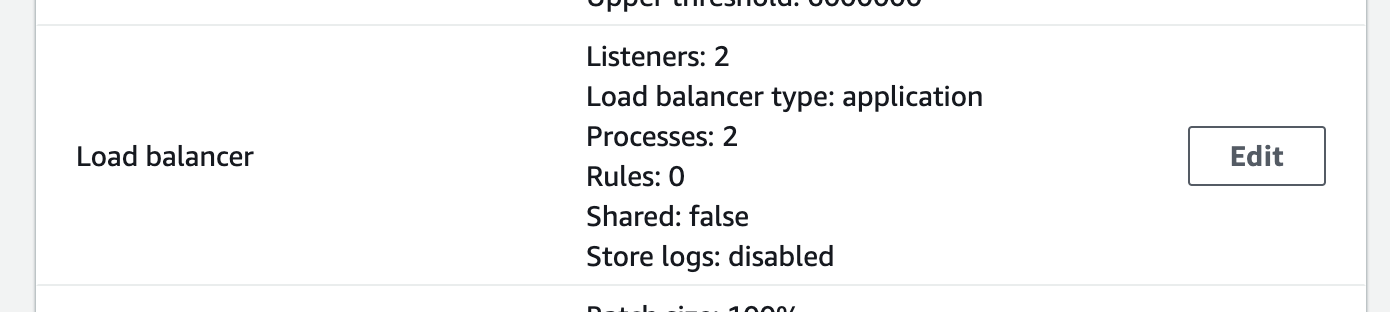
Finally, navigate back to ElasticBeanstalk > Environments > Your Environment Name. In the side panel choose Configuration once again. Find the Load Balancer section and click edit.
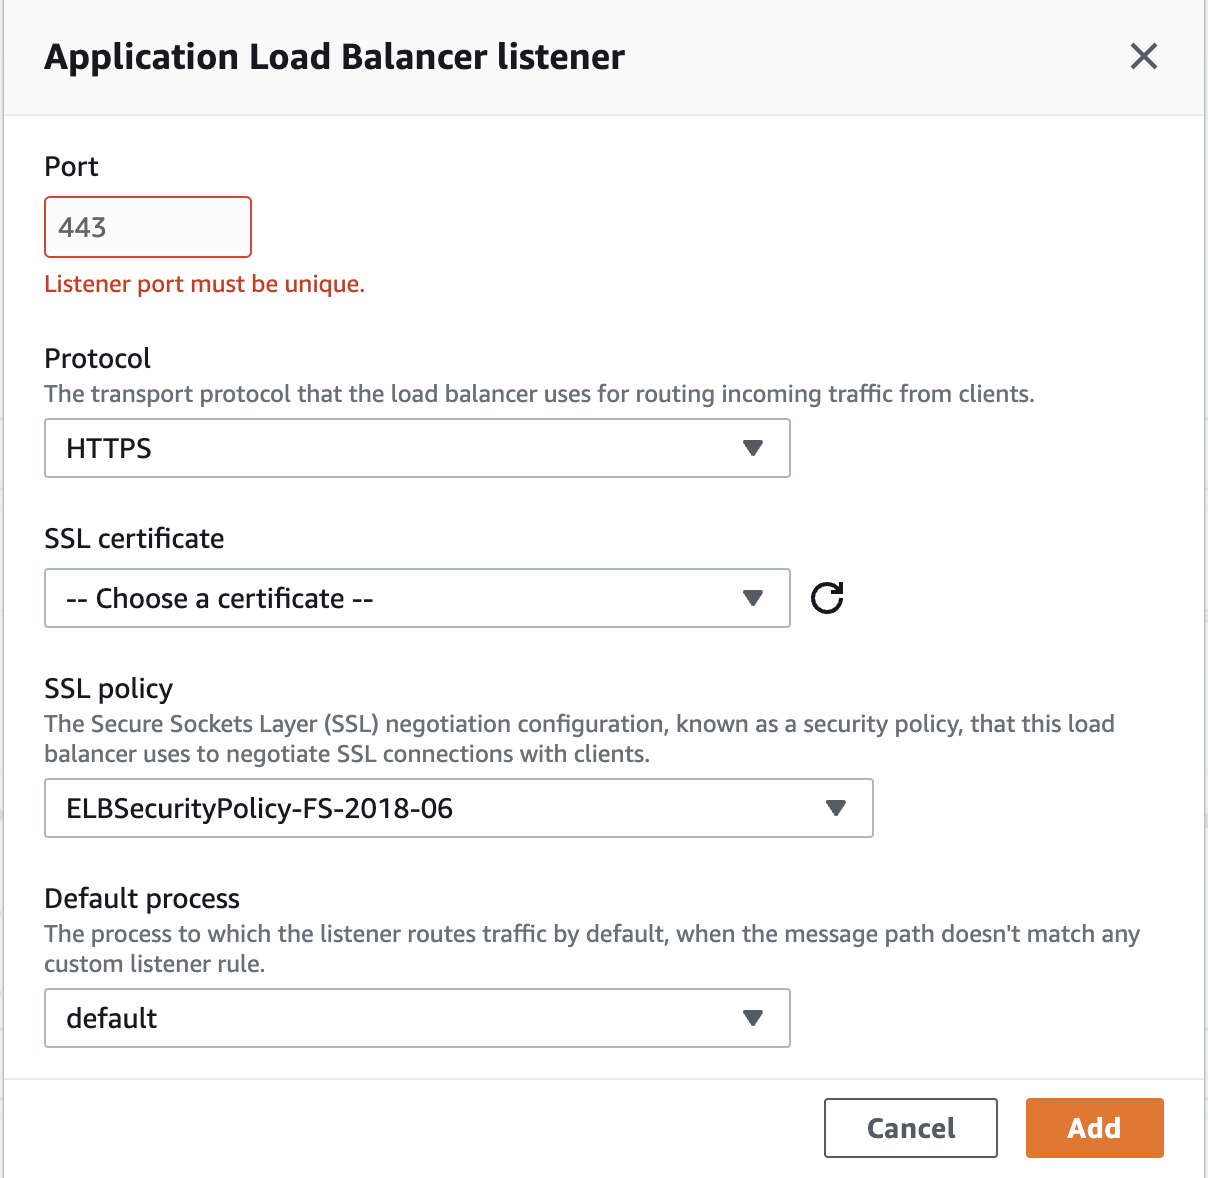
In the Listeners section choose Add Listener.

Match the following settings. Ignore my Listener port must be unique error, it should not occur for you.
Make sure to choose the SSL certificate we created in the previous steps.
Again, scroll all the way to the bottom and choose Apply before exiting.
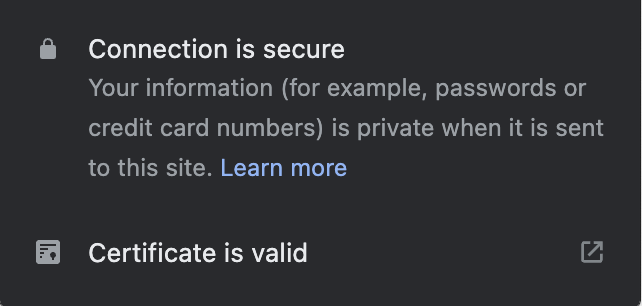
That's it! Your Elastic Beanstalk instance should be secure!